Beautiful Maple Plywood Flooring – How to Install It

Beautiful Maple Plywood Flooring - How to Install It

Maple flooring is gorgeous and I wanted to lay some maple plywood flooring in my house. 

Under our carpets were fir, which is a soft wood and it does not refinish great. Finding this out, was hard, I had the hardest time upstairs trying to refinish them. They also splinter super easy as well. 

Don’t look at the before floors and think “Wow, look at the beautiful wood”, because it is too good to be true in this situation.  

To get back on track, I wanted maple flooring, but that costs quite a bit of money. 

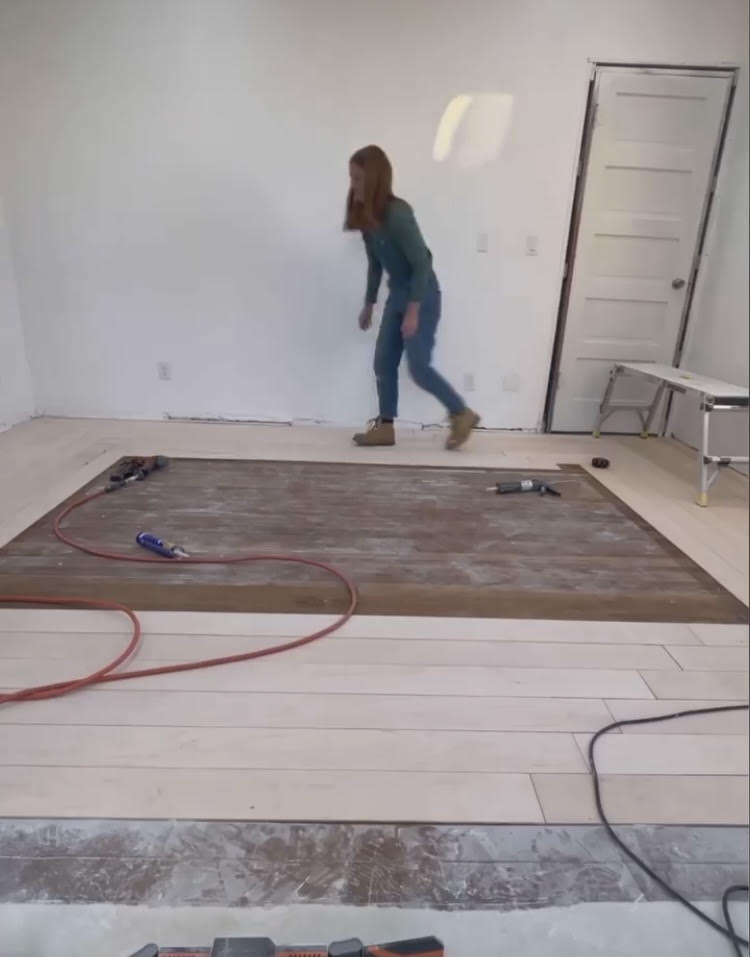
I decided to try a little maple flooring hack and use maple plywood for our flooring in the main bedroom. 

Below is my step-by-step tutorial urial on how to do that.  

Supplies

Step 1 - Cut Plywood Flooring

We cut all the plywood into 5 inch strips on our table saw. 

Forth inch Maple plywood from Lowe’s is what we used.  

You can cut them any length you want.

plywood flooring

Step 2 - Lay Plywood Flooring

For laying, I started in one corner of the room. 

Next, I was going for a pattern and I will show you that in the pictures to follow. 

Lay the first down of many with liquid nails and brad nail them to the ground. 

I’m not the best at getting a 45 degree angle perfect. And that pattern would need preciseness and I was worried about it. 

The way I did it was much easier to make look perfect, so I stuck with it. 

Another tip – I used dimes to space out my boards evenly. 

plywood flooring

Step 3 - Keep Going

Okay, it takes all day but you just keep going in a circle making that pattern. 

It is a lot of up and down and cutting and gluing. 

plywood flooring

Step 4 - Finish laying the Plywood Flooring

Next, I just finished it like the picture shown. 

For fitting issues, I had to cut the three in the middle smaller than 5 inches. 

plywood flooring

Step 5 - Finish the Maple Plywood Floors

Then, I went with Varathane floor finish. 

I got this at Home Depot. 

I also used this lamb skin pad to apply the sealant. 

This floor finish let me have a more natural look instead of stained, which I wanted. 

If you do this and stain it, make sure to use pre-conditioner for the wood.

 That will help it not be blotchy. 

plywood flooring

Step 6 - Let Set and Finish Again

The next step is to let that coat set for 12 hours. 

After that, you sand it with 320 grit and coat a second time. 

You let that set for a day and then you are done! 

I love how this turned out!! 

It has been a few weeks and it has held up very nice! 

I know you guys can do this, eve though it takes a while. 

Here is a link to the bedroom after it is all decorated. 

plywood flooring

If you love this, you can pin it

plywood flooring
Scroll to Top