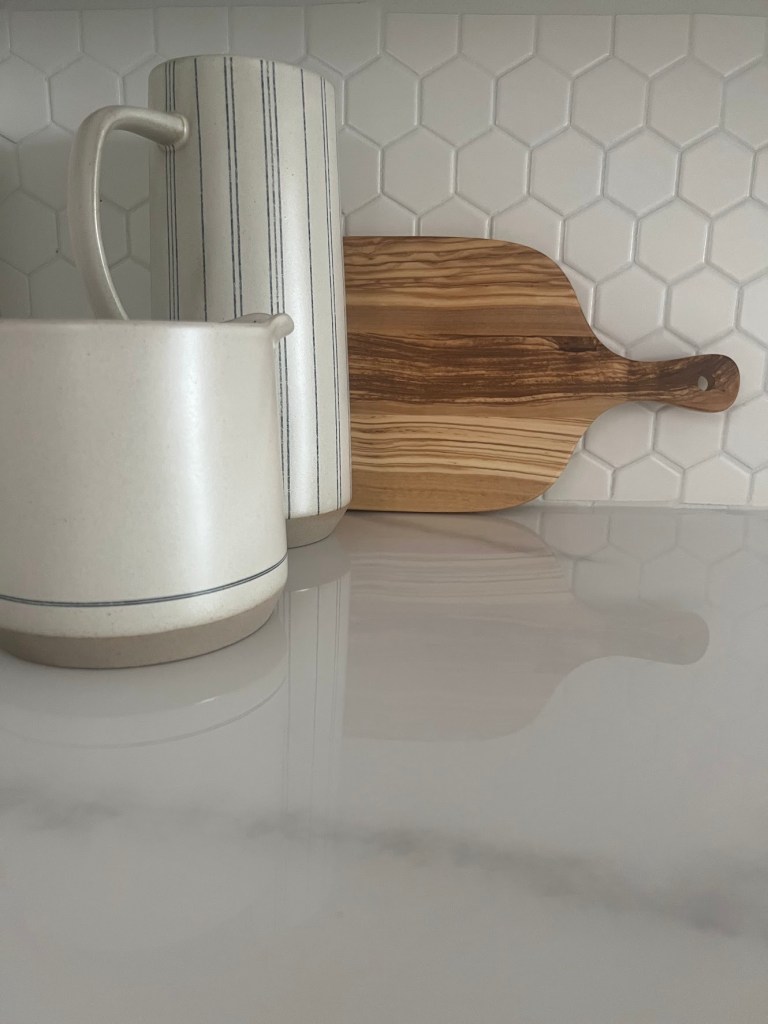
We just did a kitchen renovation on our rental home and it was so easy to put in this backsplash tile. I was so surprised by it! I am excited to show you this how to backsplash tile tutorial.
My walls were smooth before I put the simple mat up, however, you will need to make sure yours are.
If your walls are bumpy, you will need to sand your walls down so they are smooth.
Make sure the surface is also clean and dry.
This is so the Simple Mat sticks properly.
Step 2 - Put Up the Simple Mat and Tile
This is the best product I have found! MusselBond makes it so you don’t have to use compound!! It just sticks to the wall and then the tile sticks to it! How amazing is that?
Remember to do step 1 or this will not go well.
All you do is apply the wall side of the MusselBond to the wall and peel away the plastic barrier to expose the adhesive beads.
Then I just put up the tile like normal. You just press the tile up against the adhesive beads where you want the tile to go.
I also added a tile trim to the top of my backsplash.
Step 3 - Grout
Then you just grout.
I worked in small spots, this makes it easier to get into all the lines I need.
You just need to use your finishing trowel to put it on and flatten it out.
I used pre-mixed bright white grout, however, you can use whatever kind you want.
Make sure you follow the directions on your specific grout you have.
I used a wet sponge every so often to wipe off the excess grout and smooth it out.