kitchen renovation

Amazing Kitchen Renovation Under $2500 – How We Did It

Amazing Kitchen Renovation Under $2500 - How we Did It

We decided we wanted to do a kitchen renovation to our rental house before we listed it to sell. 

The space was so dark and dreary before and it ended up so bright. It also looks a ton bigger. 

Here is how we spent less that $2500 on this kitchen renovation.

This is what we started with . . .

building a kitchen island
island

First Step - Demo for Your Kitchen Renovation

We demo the kitchen ourselves, this saves a lot of money. 

Just be sure if you are working around electricity to turn off the power. 

We had to do this to our island outlets. 

demo
kitchen renovation

Second Step - Lay Floors

We had pretty decent floors, but they were finished heavy in some spots and not too much in others so they were very splotchy and hard to work with. 

We decided to just cover them instead of redo them, this did save us on time.

Third Step - Build your island

I have a tutorial on how to build this specific island here

building a kitchen island
kitchen

Fourth Step - Paint

We decided to add trim to sides of the cabinet and the island to add a more decorative element. 

We then prepped the space and painted the walls and cabinets. 

To do this, you will take off all of the cabinet doors and raise them off the floor a little so you can paint them. 

Remember to prime and paint. Also, remember to wait a good amount of time between each coat. 

Here is the sprayer I used.

Here is the primer I used.

Here is the paint I used. 

I also added these gold knobs to the cabinets. 

building a kitchen island
paint
paint

Fifth Step - Add Sink and Faucet

We for sure needed a new sink, DIY gone wrong, long story. 

We had a gold faucet already that we loved. 

You can youtube how to properly take out a sink and faucet to add a new one. 

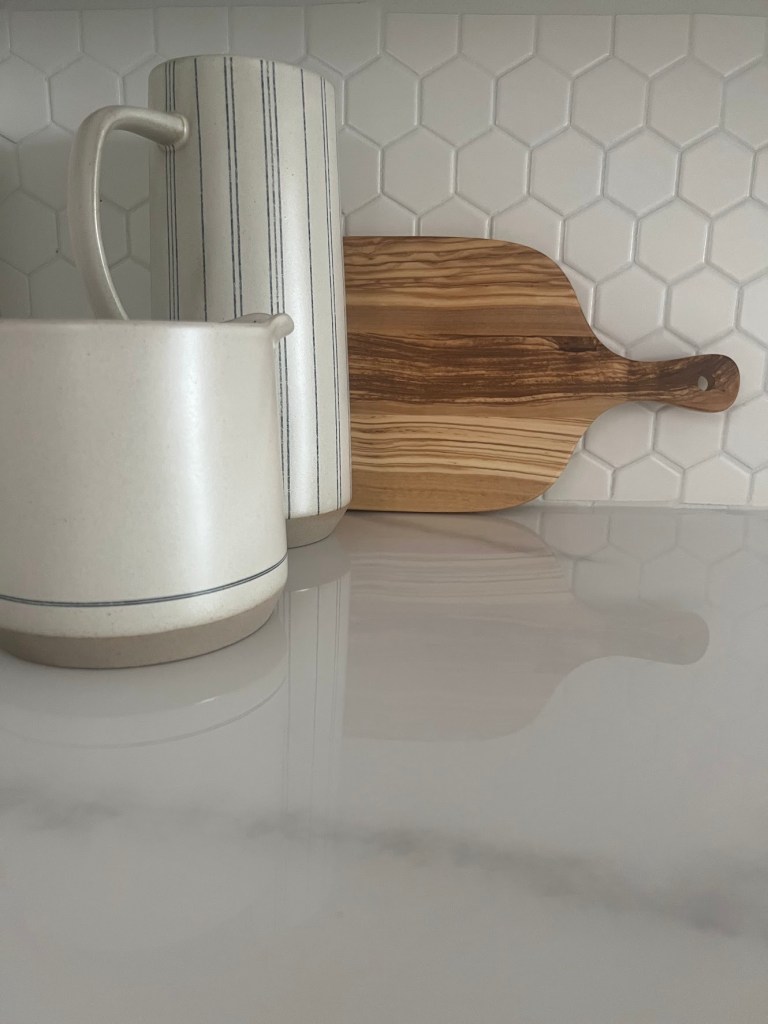
Sixth Step - Epoxy the Counters

We wanted a marble look to the counters, without the marble price.

Here is a tutorial on how I did the epoxy counters. 

I did this before adding the new sink, so I did not get anything on the new sink. 

kitchen renovation
epoxy

Seventh Step - Add Backsplash

Here is a tutorial on how I added our tile backsplash. 

It turned out so good!!

Eighth Step - Enjoy Your Kitchen Renovation

kitchen renovation
kitchen
kitchen renovation
building a kitchen island

If you love it, you can pin it

2 thoughts on “Amazing Kitchen Renovation Under $2500 – How We Did It”

  1. I don’t see or can’t access a link to the tutorial on the tile backsplash, can you share? I love it! Thanks:)

    1. Hey Leila!
      I am so sorry, I wrote this yesterday and am about to write all of those new blogs (backsplash, island and epoxy counter) right now! Hopefully by the end of the day you can click on those. I will start on the backsplash first! I hope you have a great day!

Comments are closed.

Scroll to Top